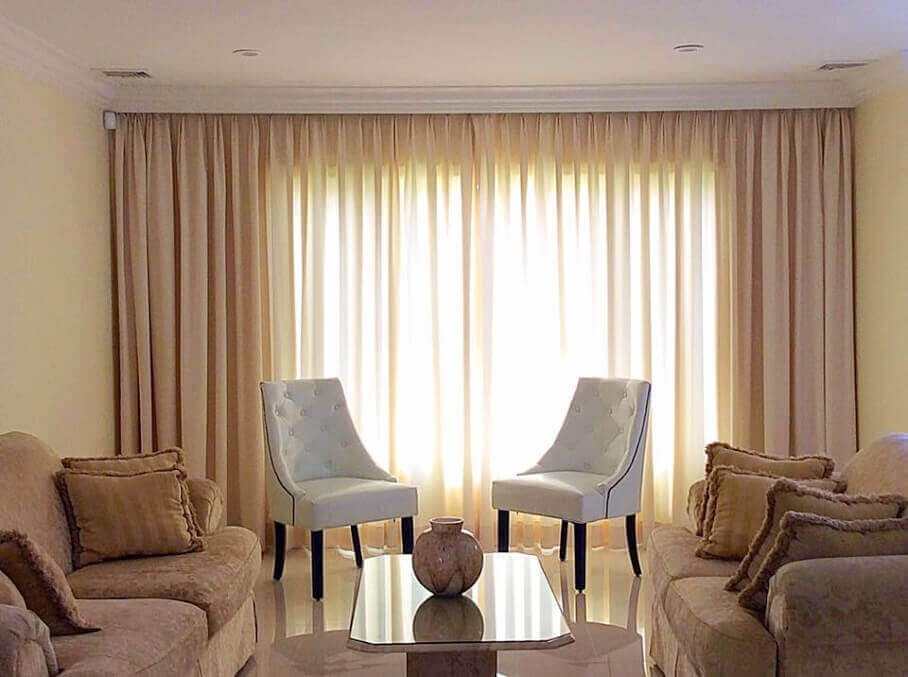
Custom drapery is a popular form of window covering used by homeowners in Toronto. It offers maximum privacy, blocks harmful sun rays, and adds a touch of sophistication.
However, installing it can be a challenge and certain considerations must be made. These include how to hang the drapes at the proper height, how to install the curtain rods, and what size of drapes you need.
Learn how to install custom drapery with this easy step-by-step guide.
Let’s get started.
Table of Contents
How to Install Custom Drapery in Your Toronto Home
Last year, when I was planning to replace my old drapes, a friend mentioned Lerner Interiors. When I called them, they listened to my requirements and scheduled an in-home visit. During our appointment, they measured my windows, suggested suitable blinds and quoted a reasonable rate. From material selection to installation, they were with me throughout the process.
Installing custom drapery is undoubtedly best left to the experts. But, if you prefer to do it yourself, here are a few easy steps to follow.
Get the Necessary Tools
Below are a few essential tools you will need to mount your custom drapes:
- Ladder
- Curtain rod
- Level
- Pencil
- Measuring tape
- Drill
- Stud finder
- Iron
- Wall anchors
Take Proper Measurements
Make sure to precisely measure your windows to get the appropriate drapes and rods. In order to determine the length of the curtain rod, calculate the window’s width and add 8 to 12 inches. Remember, each curtain or drapery panel must be the same width as the window.
Calculate from the spot you want to install the rod, which is generally 4 to 6 inches above your windows. This will determine the length of the drapes. You may also use extra curtain length to puddle your draperies.
Mount the Brackets
The next step is to use a pencil to mark drill holes for the brackets. Each bracket must be placed at a pre-determined height. This is generally 4 to 6 inches from the window frame’s side. This helps the drapes open up completely.
Ensure that you level the pencil marks or else the window covering will be uneven. Use a stud finder to check that the brackets are properly lined up with the studs. (Studs are the boards that function as the frame in the house, thereby supporting your walls.)
Once it is done, drill out the holes and screw the brackets to the wall.
Install the Rod and Draperies
Make sure you iron the wrinkles and creases out of your drapes. Unscrew the finials from the curtain rod and thread the drapery onto it. (A curtain rod finial is the decorative device that screws into the end of the rod.)
Based on the kind of bracket you use, you have to keep the rod inside the bracket prior to replacing the finial. This bracket has screws to keep the rod in place which you may have to tighten when the curtain rod is installed.
Now you know the essential steps to installing custom drapery in your Toronto-area home. Need assistance mounting your custom upholstery and drapery? For professional installation of window coverings, get in touch with a leading window treatment company.


